How I developed a low-cost thermal imager over the course of 12 years
For over a decade, I’ve been nurturing a passion project in my spare time that has grown beyond my wildest expectations: The DIY-Thermocam. This low-cost, do-it-yourself thermal imager represents more than just a device; it’s a testament to the power of perseverance, innovation, and open-source technology.
The Genesis of an Idea
It all began in 2009, during my secondary school years. A friend and I were searching for a compelling project to enter into “Jugend forscht,” Germany’s prestigious science competition for young minds. When our physics teacher introduced us to an infrared thermometer, it sparked an idea that would shape the next 12 years of my life.
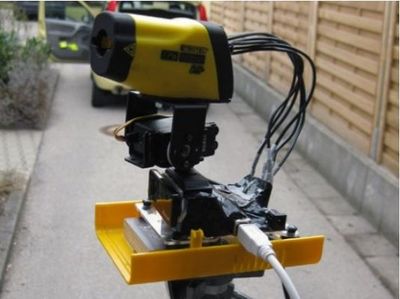
We conceptualized a method to create thermal images using a single sensor, manipulated by motors to scan across a surface. This eureka moment led to the birth of the first prototype of the Cheap-Thermocam. With the support of a local industrial company, we constructed a robust steel machine in our hometown, marking the humble beginnings of our thermal imaging journey.

Our dedication paid off when an improved, more compact version of our device clinched the Jugend forscht ambassador Bavaria award. This recognition was not just a personal triumph but a validation of our concept’s potential.

From Prototype to Global Inspiration
Post-competition, I made a decision that would prove pivotal: I published the assembly instructions for the prototype, dubbed Cheap-Thermocam V1, online. Despite its rather unconventional appearance, this act of sharing ignited interest from makers worldwide.
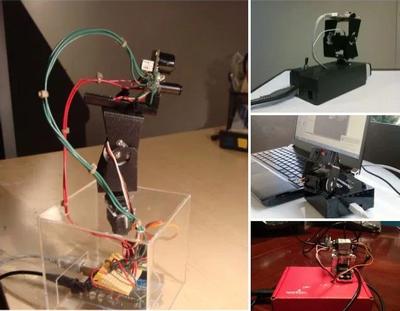
The global maker community embraced the concept, constructing their own iterations of the Cheap-Thermocam. This unexpected but welcome reception fueled my enthusiasm to push the boundaries further.
Evolution Through Iterations
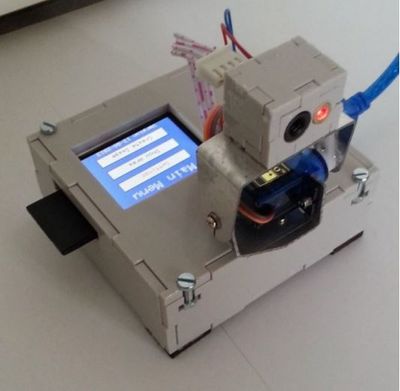
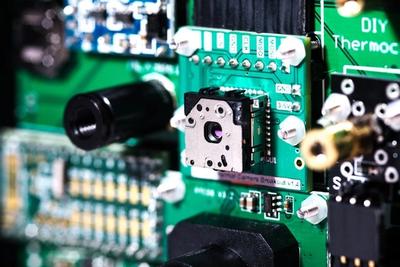
Motivated by the positive feedback, I embarked on a journey of continuous improvement. In 2013, I unveiled the Cheap-Thermocam V2, featuring a more professional design and a compact touch screen for enhanced user interaction.
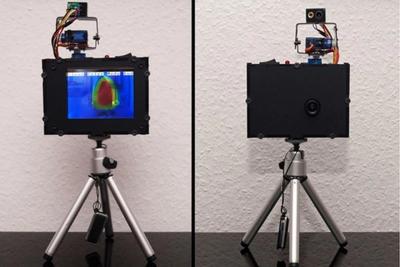
Mid-2014 saw the release of Cheap-Thermocam V3, boasting a larger screen and a design reminiscent of traditional photographic cameras. This iteration caught the attention of the tech press, garnering coverage from prominent platforms.
Breakthrough with FLIR Lepton
A significant leap forward came with the introduction of the FLIR Lepton thermal array sensor in 2014. This technology allowed me to overcome the limitations of the single IR sensor, dramatically improving thermal resolution. The integration of this sensor marked a new era for the project.
The Birth of DIY-Thermocam
Early 2017 heralded the arrival of DIY-Thermocam V1, which quickly captured the imagination of tech enthusiasts and makers alike. Publications such as Makezine and Golem featured the project, expanding its reach.
The evolution continued with DIY-Thermocam V2 in late 2017, marking a significant milestone as the first version to be commercially distributed worldwide through GroupGets, a partner company in the United States.
A Hiatus and a Powerful Comeback
Between 2017 and early 2021, the project took a backseat as I immersed myself in the startup world, wearing various hats from first employee to lead developer, team lead, and co-founder. However, the global pandemic in early 2021 provided an unexpected opportunity to revisit and rejuvenate the DIY-Thermocam project.
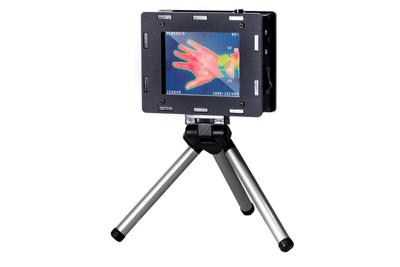
This period of reflection and renewed focus culminated in the release of DIY-Thermocam V3, the most advanced iteration to date:
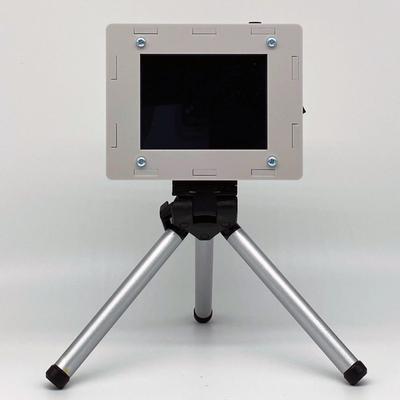
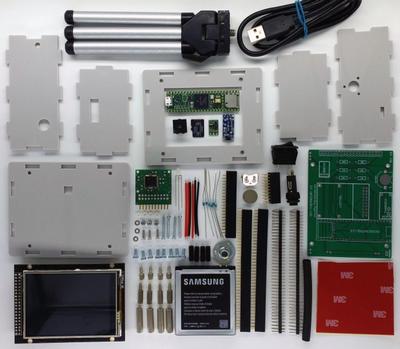
Version 3 represents a quantum leap in performance, offering 3x the capabilities of its predecessor. It’s designed to make thermal imaging more accessible and engaging than ever before. True to its DIY roots, the device is offered as a kit comprising around 100 parts, which enthusiasts can assemble at home in just 2-3 hours using basic tools.
Reflecting on a 12-Year Journey
This project has been an integral part of my life for 12 years, serving as a constant source of learning and growth. Through the DIY-Thermocam, I’ve gained invaluable insights into product development, community building, and the power of open-source collaboration.
The journey has reinforced crucial lessons: start small and iterate quickly, expose your ideas to real-world feedback early, and embrace failures as stepping stones to success. As Reid Hoffman wisely said, “If you’re not embarrassed by the first version of your product, you’ve launched too late.”